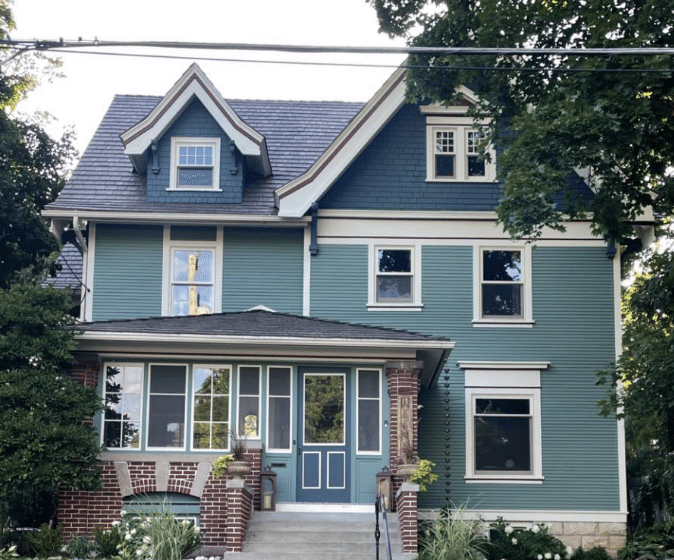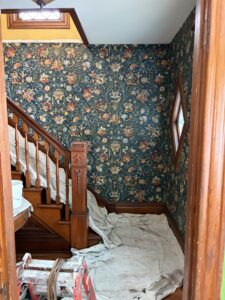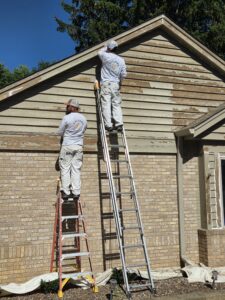
Once upon a time, we spent a few days in a 1903 four-square in Washington Heights, working on the dining room. The picture rail had a bead detail along the bottom edge that the homeowner had never noticed, because five coats of paint had filled it in until it looked like a plain strip of wood. She found out it was there when we stripped the first eight inches of the trim, and she loved it.
That is most of what historic home painting in Milwaukee comes down to – finding the gems, fixing them, preserving them, and/or restoring them. Almost all of the craft is in the decisions made before the finish coat: what paint comes off and what stays.
What Are You Actually Trying to Do Here?
This is the first conversation we have.
Some homeowners want the original wood back, so our work is all about removing old paint or finishes and then helping the wood shine again.
Some want the house to be period-correct, with colors documented to the era or a Victorian three-color exterior scheme. This takes research and a little discipline about what’s available at the paint store, but it doesn’t cost much more than a normal repaint.
Many people want something simpler, which is a house that feels current and comfortable to live in, without doing anything that fights the old, beautiful architecture or that the next owner will have to undo. Modern colors are fine here. What may not be fine is filling in old wood profiles or painting over a natural wood staircase because gray was on the mood board.
These three goals or questions point at different budgets and project scopes for experienced old house painters like our team, and we like to find out which one you’re after in the first walkthrough and conversations.
What Gets Lost When an Old House Is Repainted
It’s really film buildup. A coat of paint dries to somewhere around 1.5 to 2 mils, a mil being a thousandth of an inch, which sounds like nothing until you count the coats. Five of them puts eight to ten mils of material into a carved detail that a millworker cut maybe an eighth of an inch deep over one hundred years ago.
Shadow lines are vague and the corners of a casing fill in and round over. Egg-and-dart features turn into a row of soft lumps. The house still looks fine, but a hundred and twenty years of carving has been buried under a sixteenth of an inch of paint.
So at detail, we strip back instead of building up. On flat runs, baseboard faces, and door panels, we’re happy to prep and recoat.
How Do You Strip Paint From Original Trim Without Wrecking It?
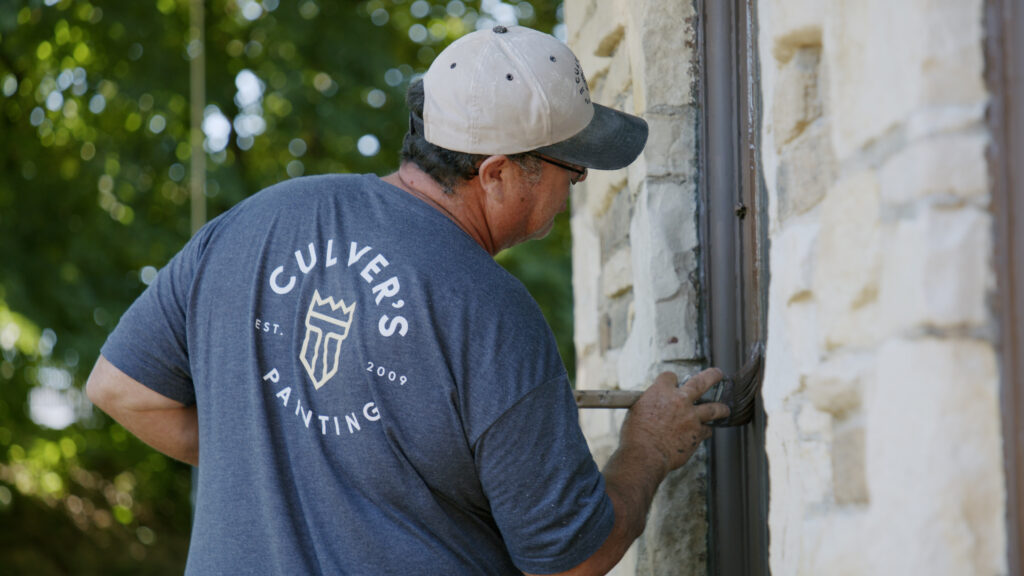
Slowly, one room at a time, at a temperature low enough that any lead in old layers stays put, or we don’t touch it at all.
Before anything comes off, we want to know two things. First, what finish is on there: a little denatured alcohol on a hidden spot will soften shellac and leave varnish alone.
Second, what wood or millwork is underneath, and is it even worth revealing. A small check drilled inside a closet jamb tells us whether we’re looking at quartersawn oak, old-growth fir, or poplar that was always meant to be painted.
Then the heat. The EPA’s lead-safe rules prohibit heat guns above 1,100°F on painted surfaces, because that’s where lead starts to vaporize and go airborne in a pre-1978 house. Infrared strippers work in the 400 to 500°F range, well under that threshold, and they pull the paint loose in sheets without scorching the wood. We use chemical strippers on carved sections where a scraper can’t follow the profile.
Stripping a whole house is expensive and miserable and rarely worth it. Pick the room people stand in, like the entry, the staircase, or the dining room. Prep and paint the rest properly and put your money where it shows!
Should You Paint Cream City Brick?
Usually not, but it’s a conversation.
Cream City brick came out of Menomonee Valley clay with a high lime content, which is why so much of the older stock in this city looks pale yellow and why the brick is softer and more porous than what comes off a truck today. Film-forming paint seals this face. Moisture inside the wall then has nowhere to go, and Milwaukee runs through dozens of freeze-thaw cycles between November and March. Water that can’t leave through the face eventually takes the face with it, resulting in spalled brick.
If the brick is sound, we clean it gently and leave it. If the mortar has failed, we can work with a team to repoint with a soft lime mix rather than a modern Type S, which is harder than the brick itself and shifts the stress into the masonry.
If a previous owner already painted it, mineral silicate coatings will at least let the wall breathe. Acrylic won’t.
Do Original Wood Windows Need to Be Replaced?
Almost never, though newer windows will likely work a little more easily.
The sash in your 1890s house is milled from old-growth timber with a ring count you can’t buy now, and it is often more rot-resistant than a new wood unit.
The failure with old windows is almost always in the glazing putty. We cut the old putty out, prime the rabbet, bed new putty against the glass, and then carry a bead of paint about a sixteenth of an inch onto the glass to seal the putty line. Painters who skip that last part are the reason a glazing job fails in four years.
While the sash is out we check the cords and weights. Most homeowners have no idea there’s a pocket cover in the jamb and a cast iron weight hanging behind their wall.
Then the thing we’re most careful about: we don’t paint a window shut. We break the seal and run the sash up and down before the film has cured, and we tell the homeowner to do it again the next day. A restored sash with a decent storm window gets you close to a replacement unit thermally, at a fraction of what replacement costs, and you keep the wavy glass.
Is It Plaster or Drywall, and Why Does It Matter?
Drywall is the modern method for putting up walls in houses, coming in big paper-faced gypsum panels that get screwed to the studs, taped at the seams, and then painted. It’s fast, flat, and consistent, which is why every house built in the last seventy years has it.
Plaster is what came before, and it’s a wet trade rather than a dry one. A crew nailed up lath, thin wood strips spaced a finger’s width apart, then troweled plaster over them in coats. The plaster squeezed through the gaps and hardened behind the lath, and that’s what locks the wall in place. Three coats, each one drying before the next, over the course of days. Your 1903 house has walls that were built by hand, on site, one room at a time.
So does it matter to painting? For one, old plaster is never flat, and glossy paint makes every wave in it obvious. We put a matte or eggshell on plaster walls almost every time. It still looks great, and it lets the wall look like what it is instead of pretending to be new construction.
The rest is about repairs or crack fixes, which takes some real skill when it comes to repairing old plaster.
Skimming drywall or spackling compound over a loose section of plaster does nothing, because the problem is behind the plaster, not on it. The fix is plaster washers screwed through into the lath to pull it tight, then a setting-type compound over the top. Regular joint compound shrinks and cracks in this application, and it doesn’t bond well to older lime plaster.
A hairline crack running diagonally off a door or window corner is usually seasonal movement, and it will open again in February no matter what you fill it with, unless you tape it. We bed a mesh or paper tape into those, then feather out from there, six or eight inches, so the repair doesn’t look terrible under a low-angle light.
Why Is the Paint Failing in the First Place?
On an old house, peeling usually starts with water getting somewhere it should not.
Alligatoring, that cracked-hide pattern across old oil films, is age and movement. It’s predictable and it’s cosmetic.
Intercoat peeling, where the top layer sheds and leaves sound paint underneath, is adhesion: somebody rolled over a glossy or dirty surface without sanding. But paint coming off down to bare wood means moisture is pushing up from behind. In Milwaukee the usual culprit is blown-in insulation packed into an uninsulated 1905 wall cavity with no vapor control, condensing against the sheathing all winter. Gutters and grade account for most of the rest.
We look for the cause before we work on it, and sometimes that means telling a homeowner the exterior, gutter, or the grading of the yard matter more right now than the paint does. Prepping over an unsolved moisture problem fails within a few years.
A Common Ceiling Problem (and Fix) in Milwaukee
If the house has original plaster ceilings, there’s a good chance there’s calcimine up there. It was the standard ceiling finish through the 1920s: chalk with a glue binder, brushed on, never really bonded to anything. Paint over this ceiling and the whole assembly is likely to come down in pieces the size of a dinner plate eighteen months later.
It has to be washed off, not scraped. We look for it on every pre-1930 interior.
How Do You Choose Colors for a Historic House?
It can be helpful and fun to start by finding out what was there to begin with. Scraping a shallow bevel through the layers on a protected section of trim shows the original color scheme.
On Victorian exteriors, the sash tends to go dark. That looks strange on a paint chip and correct on a house, because the dark sash lets the windows sit back as voids and pushes the trim detail forward.
One practical thing before you pick anything: if the house is in a locally designated historic district, exterior color changes are usually reviewed by the city before work starts. Designations are parcel by parcel rather than by neighborhood, so it’s worth confirming your specific address with the city. Interiors aren’t regulated.
Working Safely in a Pre-1978 House
We assume lead is present until a test says otherwise, and we work under RRP containment: plastic, HEPA extraction, wet methods, clearance before we pull the sheeting. Friction surfaces are where lead dust comes from, and window sash and door jambs are friction surfaces. We wrote about lead-safe preparation in older Milwaukee homes in more detail if you want the full background.
Do nothing to an old house that can’t be undone, and nothing to the people living in it either.
The homeowner in Washington Heights has a dining room where you can see the bead again. Her front windows open, which they hadn’t since sometime before she bought the place.
Get a Free Quote on Your Old Milwaukee Home Repainting Project – Call Today!
If you own an old house in the Milwaukee area, we’d love to come look at it with you. We’ll tell you what’s under the paint, what’s worth stripping and what isn’t, whether that crack over the doorway is a patch or a plaster repair, and what we’d leave alone entirely.
You’ll get a written estimate that separates the restoration work from the repainting, so you can decide where the money goes. No charge for the walkthrough, and no pressure if you decide to wait a year.
Get in touch and tell us what you’re working with!