Key Takeaways
- Preparation is key: Clean the ceiling, repair imperfections, and protect your space with drop cloths and painter’s tape.
- Use the right tools: Use ceiling-specific flat paint, a quality roller with an extension pole, and an angled brush for edges. Or, use a wet paint sprayer like most professional painters do.
- Apply thin coats and multiple coats: Work in sections with a wet edge, allowing each coat to dry completely for a flawless finish.
Ceiling Paint Done Right: How To Paint Your Ceiling Like a Pro
Tackling the task of painting ceilings might not sound thrilling, but the payoff can be undeniably worth it. Whether it’s your living room ceiling that needs a refresh or textured ceilings (even popcorn ceilings) that demand some TLC, getting it right makes all the difference.
Let’s explore how to paint a ceiling with confidence, delivering a flawless result.
Start with Preparation: Setting the Stage for Success
Before any paint touches the surface, preparation is where the success starts.
Begin by clearing the room of furniture or covering everything with reliable drop cloths to shield against paint splatters. Wooden floors deserve extra care, so double-check they’re well protected.
Clean the entire ceiling thoroughly. Dust, cobwebs, and even smoke stains can interfere with a smooth finish. Use a damp cloth for light debris or a cleaning solution for stubborn spots. Address any cracks or holes with spackle and sand the area for a smooth ceiling surface.
Trust us, a clean and even surface lays the foundation for a professional finish.
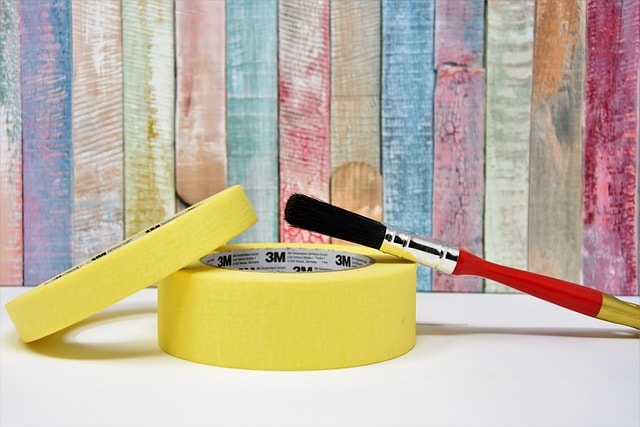
Mask the edges of walls and trim with painter’s tape. Don’t forget to cover light fixtures, ceiling fans, and smoke alarms – better yet, take them down! This prep work may feel tedious, but skipping it often leads to regrets.
Choosing the Best Paint and Tools
Selecting the right ceiling paint is a game-changer.
Most people should opt for flat paint designed specifically for ceilings, as its non-reflective finish hides imperfections beautifully. If you’re painting multiple rooms, consider sticking to the same color for uniformity.
Investing in quality tools saves time and makes for better results, too. A sturdy extension pole paired with a paint roller designed for ceilings will make your job easier. Don’t forget an angled brush for detailed edges and a paint tray for even loading. The goal is to avoid excess paint that drips or unevenly covers.
We often use wet paint sprayers for a flawless finish on textured or high ceilings, something that saves hours of work compared to rollers. Some pros will also back-roll after spraying to blend the texture perfectly, especially on smooth ceilings.
For textured ceilings, you’ll want a thicker roller nap (often a half-inch) or even a sprayer for seamless coverage. Smooth ceilings benefit from a thinner nap roller (1/4 to 3/8 inches) for precise application.
Painting a Ceiling: Step-by-Step Techniques
Cut in Along the Edges
Start by using an angled brush to cut in along the edges of the ceiling. Work in small sections, creating a crisp line where the ceiling meets the walls.
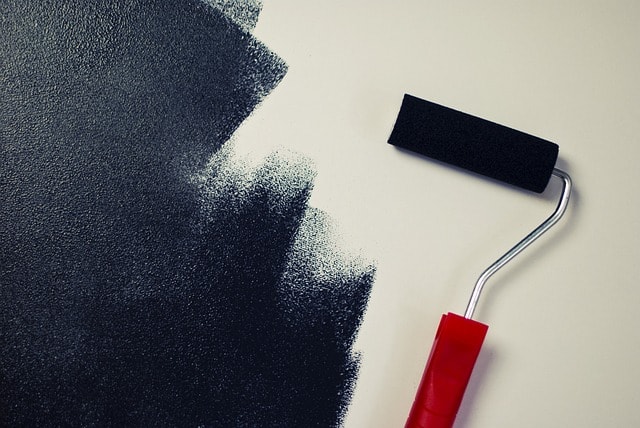
Roll with Precision
Load your roller carefully to avoid too much paint. A paint tray helps distribute the paint evenly on the roller. Use a “W” or zigzag motion to roll across the ceiling. This prevents roller marks and creates an even coverage.
Maintain a wet edge as you move from one section to the next. Overlapping slightly with the previous section helps blend the paint seamlessly. Avoid pressing too hard on the roller, which can lead to uneven application or streaks.
Many clients call us after trying to paint their ceilings and struggling with roller marks — this usually happens when too much pressure is applied or when the wet edge isn’t maintained properly.
Allow Time for a Second Coat
A second coat is almost always necessary to achieve a perfect finish. And, multiple thin layers of paint dry faster and look smoother. Be patient and let the first coat dry completely before applying the next.
A trick we often use is tinting the primer with a bit of the ceiling color to improve coverage and risk of misses.
Avoid These Common Painting Pitfalls
Skipping Surface Prep
Painting over dirt or imperfections is a shortcut to disappointment. Clean thoroughly and repair any damage before starting.
We remove light fittings and ceiling fans completely to make sure no paint ends up where it shouldn’t. It’s a small step, but it makes a big difference in the final result.
Neglecting Proper Tools
Using the wrong roller nap or skipping the extension pole can make the job harder than it needs to be. Invest in the right tools for the best results.
Rushing the Job
Thin coats of paint applied with care always look better than a single heavy layer. Take your time to avoid drips and uneven patches.
Extra Tips for Perfect Painting Ceilings
- Light Matters: Natural light is your best friend when painting ceilings. Turn off low or artificial lights to spot imperfections more easily.
- Keep a Wet Edge: This prevents roller marks and uneven lines, giving you a smooth and consistent finish.
- Protect Your Neck: Long hours of looking up can be tough. Take breaks and use an extension pole to save yourself from strain.
Cleaning Up Like a Pro
Once you’ve finished painting ceilings, it’s time to clean up. Remove painter’s tape carefully while the paint is still wet to avoid peeling. Wash your brushes and rollers promptly to keep them in good condition for future projects. Finally, fold up your drop cloths and admire your hard work.
Why Culver’s Painting is Your Go-To for Ceiling Projects
Painting a ceiling might sound simple, but achieving a professional finish takes patience, the right tools, and expertise. If you’d rather leave it to the experts, Culver’s Painting is ready to step in for Milwaukee professional painting needs. Our team specializes in painting ceilings, textured surfaces, and high ceilings, and all interior painting or exterior painting needs.
Contact us today to discuss your project and schedule a free consultation. Let us help you transform your home with the perfect paint job!
FAQs
Do I need to use ceiling paint?
Believe it or not, wall paint and ceiling paint are a little bit different from good paint companies, like Sherwin Williams. Ceiling paint tends to be a little thicker to avoid drips.