Key Takeaways for Painting on Brick
- Preparation is the most important part of a successful and streamlined brick paint job: power-washing, taping off surfaces, sanding, and other “prep” processes will probably take the majority of your time and energy on an exterior brickwork painting project.
- Use the right specialized solutions formulated for masonry surfaces: Don’t just slap any old paint on your exterior brick. Concrete and brick-specific primers and sealers play a vital role in the long-term protection of your exterior brick walls or block walls.
- Nothing beats experience: hands-on painting experience is priceless. If you’re a first-time brick painter, take your time to avoid common pitfalls. If in doubt, hire a professional painting company that comes well-reviewed in your area.
How To Paint Brick Like The Pros
Painting tired or out-of-place brick, whether inside or outside your home, is an inexpensive, fairly quick route to an updated—or just cleaner!—look. As with most painting, doing proper preparatory work is the best way to ensure a picture-perfect finish. Good prep work takes time and a little extra effort.
While we can’t speak for every exterior painting company, our process to paint brick, plus trusting some key products, has been transforming brick walls in our area for over a decade.
Here’s our approach to painting brick walls and exteriors.
Step 1: Powerwash And Let Dry
Step one is all about creating a clean surface to which our primer and paint can adhere.
We power wash the entirety of the walls of your house, making sure to gently spray crevices and any other surfaces to which we’ll be applying primer and paint.
This ensures that any dirt or grime that would prevent the paint from adhering correctly is gone before we even begin. Skipping this step will just lead to a rough, mediocre finish that can peel off prematurely.
Important! It’s crucial that you let the brick and concrete block dry completely before beginning any paint work. Concrete block and brick are much more porous than vinyl, wood, or aluminum siding, meaning that even in the warmer summer months brick may need 48 hours to dry. When painting siding, we may be able to apply paint the day after we wash the siding – with brick, we generally wait a little longer to ensure the brick is fully dry.
On the second day, even if the brick is still drying, we may begin to tape any surfaces we won’t be painting, covering up objects and windows, and ensuring that our workspace is nice and tidy and free of ground vegetation that might get in the way.
Step 2: Wall and Site Preparation
Next with every exterior brick painting project, we take a slow and methodical approach to preparing the actual surface.
- Scraping and sanding trouble areas, like spots with excess caulk or mortar, with a wire brush or sandpaper
- Filling in large holes with putty or caulk. Small cracks will generally be just fine thanks to the heavy-duty primer/sealer we use
- Taping off surfaces and trim that should be preserved free of paint using painter’s tape and plastic
- Covering windows and ground objects with plastic sheeting or a drop cloth to prevent spatter or overspray
Step 3: Apply Concrete and Masonry Primer and Sealer
When the brick surface has dried completely and you’re prepared the site and any trim or walls that won’t be receiving paint, it’s time to prime.
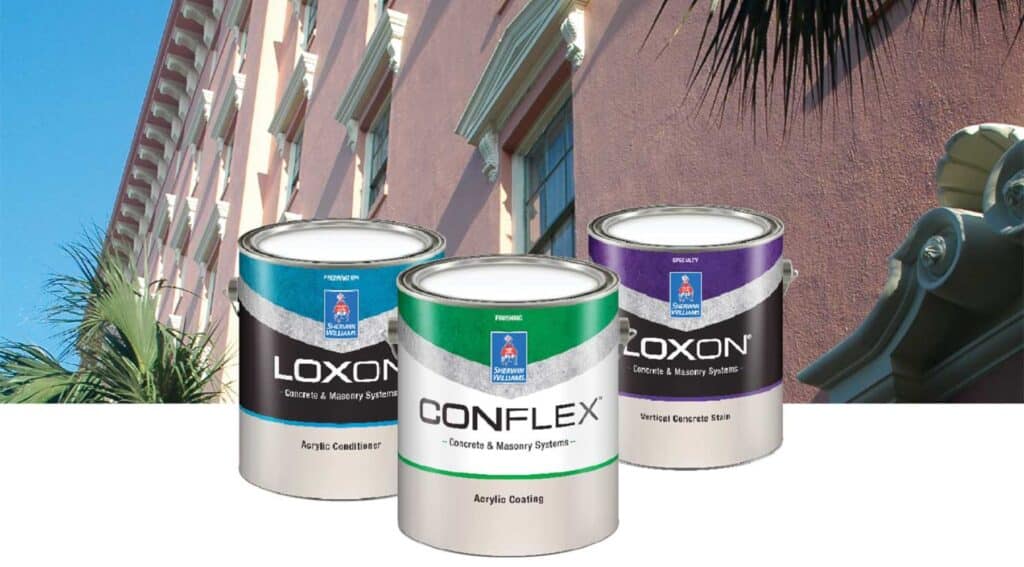
We rely on Sherwin Williams’ Loxon® Concrete & Masonry Primer/Sealer to prime and seal the surface from top to bottom. Not only does this masonry sealer create a thick waterproof finish, it also fills in any pores and irregularities in the surface’s texture, leaving it uniform and preventing it from absorbing moisture. Further, it ensures a strong “tooth” for our final paint coat to “grab”. In other words, this creates an ideal subsurface for later coats.
Importantly, depending on your final brick wall color, we frequently tint the primer closer to the final color of your choice. Because this product is so thick, it also allows us to finish the project with a single coat of paint.
Make sure to let your primer dry completely before you proceed to paint the brick. We usually wait until the following day to begin the top coat.
Step 4: Apply Top Coat
Now that the brick surface is ready, it’s time to spray on the top and final coat.
Again, with the Loxon® family of products, we generally lean on a single primer coat and a single topcoat, both of which are extremely heavy duty.
By contrast, our interior painting projects generally rely on a coat of primer plus two coats of topcoat.
For painting brick walls, we use Loxon® XP Waterproofing Masonry Coating, a durable and customizable product that we’ve found to be incredibly reliable in protecting everything from your outdoor brick wall to a brick fireplace.
With Loxon® and a properly tinted primer coat, we generally do not need any additional coats of paint!
Step 5: Inspect and Touch-Up
With our final coat of masonry paint on, we clean up and begin inspecting the surface for any missed spots of blemishes.
This is also a great time to reapply waterproof caulk at window seals, inspect areas where your roof meets the brick for re-waterproofing, and even trim painting, if that’s on your to-do list.
FAQs on Brick Painting
How long will painted brick last before it needs repainting?
Typically 8 to 10 years; however, this can vary depending on many factors including sun exposure, elements, shade, and vegetation around your home.
How do I paint concrete block?
The process for painting concrete blocks is the same as for brick. They share similar properties, including a slightly porous material and the ability to absorb paint as it goes on.
Can I paint interior brick the same way?
While the overall process will be similar, you may not need the same waterproofing as with exterior brick. If you’re considering painting the inside of your home’s brick, like a fireplace surround, talk to a pro before getting started.
Should I paint my brick walls?
Paint is a low maintenance approach to preserving brick while getting a fresh, updated look for your home. If you like the look, go for it!
Can I paint new brick?
Sure! New and old brick can both be painted.
What kind of paint should I use to paint brick?
To paint brick properly, we rely on Sherwin Williams’ Loxon® family of masonry products.
To Paint or Not to Paint? Final Tips
When painting brick walls, prep and the right products is everything.
DIY brick painting is feasible, but if you have concerns or fears about tackling the project on your own, work with experienced painters like Culver’s!
#1: A dry surface is critical
Before applying paint, make sure the surface is bone dry! Trapped moisture can tamper with the way paint sticks to the brick’s surface, possibly leading to bubbling or peeling. After you use a pressure washer, water can get into the brick pores: even if it looks dry after 23 hours, give it another day.
#2: Use the right formulas
Always choose paints, primers, and coatings specifically formulated for masonry surfaces. This will ensure better adhesion and durability.
#3: Prepare and Test
Run a test patch before painting the entire brick wall. You’ll get a better view of how the paint interacts with your wall, and be able to adjust accordingly. This also helps when comparing colors.
#4: Use appropriate techniques
We paint larger areas with a paint sprayer and leave the stiff brush for more detail-oriented work and retouches. Different paints and coatings require different application methods! Do your research beforehand rather than finding out the hard way with an open can of paint.
#5: Remember maintenance
Keep in mind that exterior surfaces need repainting every 8 to 10 years, and some areas like door trims might need touch-ups even more regularly.
Good Luck On Your Brick Painting Project!
