Painting trim is the most time-consuming part of any home painting project.
Unlike walls and ceilings, where you’ll be rolling paint or spraying in large swathes with every stroke, painting trim requires extensive prep work and close attention to detail – whether you brush your trim or spray it.
So what’s the best way to paint wood trim? We’ve outlined the ten steps that the professional painters at Culver’s follow when painting wood trim for a pristine, durable, and seamless look.
Types of Trim You Might Be Painting
Let’s start with a quick overview of the types of trim we frequently paint.
While we run into thousands of interior trim styles and molding designs, accents, and reveals, what matters most when it comes to a fresh coat of paint is generally what you’re painting over top of: stained wood trim versus painted wood trim.
| What Is Trim? Trim refers to the 1 to 4 inches of wood that surrounds windows and doors on the interior of your home. It also refers to baseboards –– the wood at the bottom of your walls that protects the wall from kicks and dings while also creating an aesthetically pleasing look where the floor meets the wall. Trim is also frequently called molding, casement, casing, casework, and millwork. |
If you’re painting stained or natural wood trim – as opposed to previously painted trim – you should plan to do more preparation, including caulking gaps and filling nail holes.
Nail holes and small gaps where two wood pieces meet tend to be hidden by stains or polyurethane overcoats on natural wood. As soon as natural wood trim gets painted, those old gaps and holes stand out like a fly in milk.
We’ll talk about this further in one of our steps below, but the important takeaway is that stained or natural wood molding will require a little extra attention to detail to get a pristine final coat.
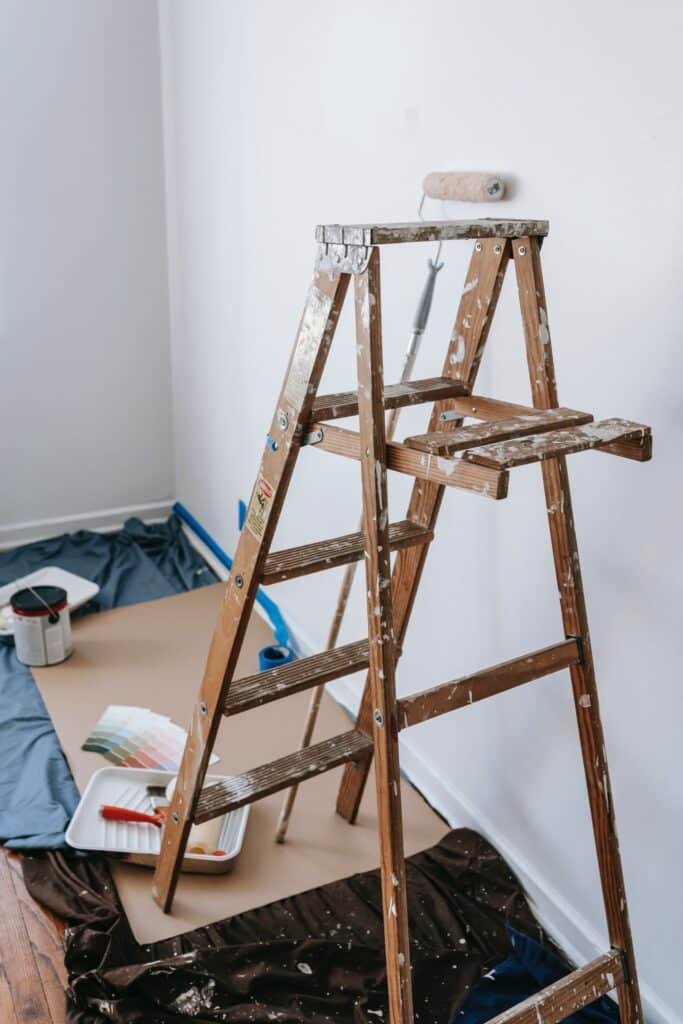
Ten Steps to Paint Trim Perfectly
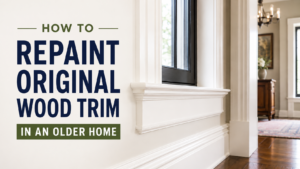
For the best trim paint, use a sprayer. We do almost all of our painting with professional paint sprayers, and while this usually requires more painting preparation than rolling or brushing paint, it achieves a uniform, precise finish with no brush strokes or dimpling.
And if we’re painting the walls or ceiling as part of the project, we always paint the trim first.
1. Clear the Room if Possible
Don’t take the easy way by just covering (or worse, NOT covering) your furniture while you paint – one errant drip or overspray just isn’t worth it.
We begin the trim painting process by removing all furniture from the room or rooms. Worst case, we center the furniture in the room away from the walls. If you’re moving into a new home, painting the trim while the home is still empty is even better.
2. Tape and Mask Floors and Walls
We next mask surfaces that won’t receive paint and apply painter’s tape where the trim meets the other surface. This includes walls, ceilings, flooring, window and door frames, crown molding, cabinets, chair rails, and more. Take the time to lay tape well and you’ll save yourself considerable headache (or mistakes) later on.
If you plan to paint the walls or ceiling as well, you may not need to apply as much tape and masking. In this situation, overspray on the walls (where the sprayer sprays beyond the intended surface) is just fine, as the walls will receive a coat of paint themselves next!
If we’re painting window trim, windows, or doors, we also tape and mask all glass.
3. Scuff Sand the Trim
A critical step in getting a durable, properly-adhered coat of paint is to lightly sand and scuff the surface before painting.
We use a medium grit sandpaper, between 80- and 120-grit, making a few light passes over the entire surface.
This is particularly important for wood that has never been painted, as stains and polyurethane or oil-based coats are too smooth for your trim paint to properly stick.
If you’re wondering if you can paint trim without sanding, we wouldn’t recommend it. In a year or two, you’ll be disappointed with the number of peels and scrapes where your paint didn’t stick to the underlying surface properly.
4. Wipe Dust and Clean Trim Thoroughly
Wipe off and remove any dust from the sanding process, and use a cleaner & degreaser to thoroughly remove dirt from the trim’s surface.
After years of use, particularly when painting older homes, trim slowly accumulates dust and dirt that should to be removed before applying any paint. Even if the trim looks clean to the naked eye, a fine layer of body oil (think about all of those years of families moving about in the home) can build up. A good cleaning product will remove this dirt in no time.
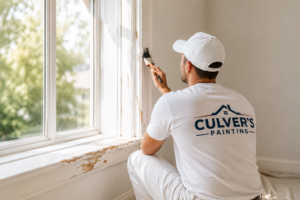
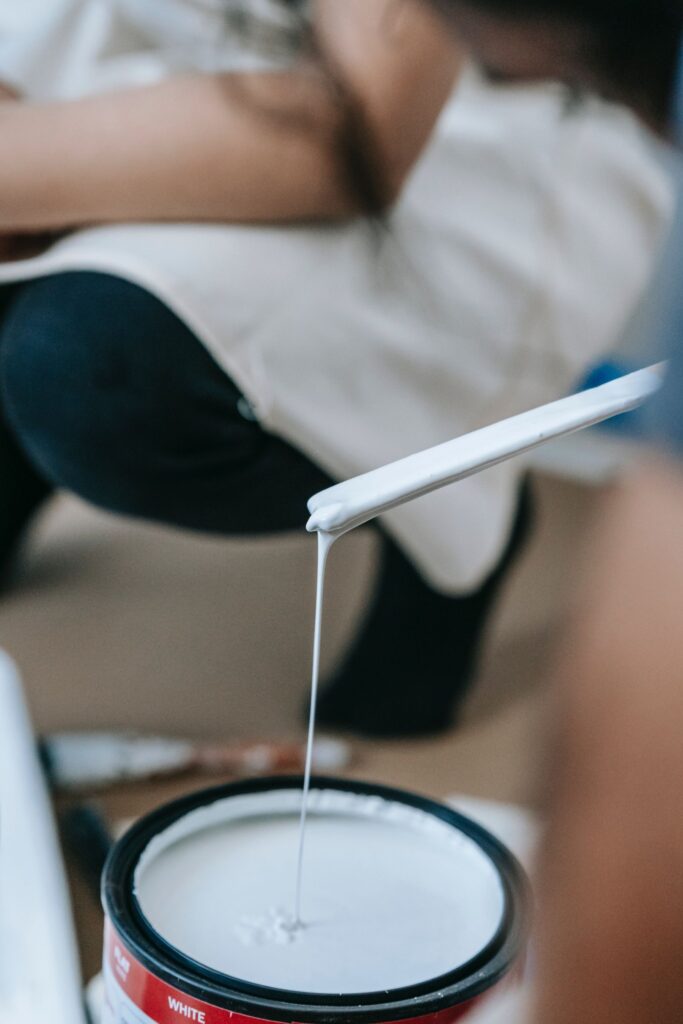
5. Spray Your Trim With An Oil-Based Primer
Particularly important when painting over stained or natural wood trim, a coat of high-quality oil-based primer fulfills two needs:
- When painting wood, oil based paint/primer provides a “tooth” for the final coats of paint. This slightly rough finish helps the paint adhere to the underlying surface properly.
- An oil primer will also help to cover imperfections in raw wood, including hiding some of the wood grain or wood knots that were previously exposed. It also keeps wood tannins from bleeding through to the top coat.
6. Fill Nail Holes and Caulk
A white oil based primer will quickly reveal any nail holes used to install the trim.
You’ll need to spackle these holes or fill them with a wood filler. Sand the spackle compound or wood filler before applying more paint.
This white primer coat will also reveal gaps between woodwork and walls, which will need to be caulked.
7. Lightly Sand Trim
After the oil primer coat, we very lightly sand the entire first coat with a high-grit sandpaper to smooth out imperfections. Grit of 180-plus will work fine.
Make sure to wipe down and remove sanding dust from the surface, if any.
8. Spray The Trim With A First Coat
It’s time for your first top coat, which should be a high quality trim paint!
At Culver’s Painting, we use Sherwin Williams’ Pro Classic or Emerald Urethane. These premium products are specially designed for woodwork and will provide a beautiful and durable finish.
9. Address Imperfections After The First Coat
With the first coat of paint on, it’s the perfect time to inspect for imperfections or blemishes that may have sneaked past your coat of primer. Nail holes or gaps in the wood can still be filled and sanded before applying a final coat of paint.
10. Spray Top Coat
We apply a second coat of latex paint to the trim and – we’re done!
Except for the cleanup, of course. We remove paint and masking slowly and gently to avoid disruptions to the drying paint. While we typically spray trim with a paint sprayer, if you’ve painted your trim with a brush, it’s a good idea to remove tape while the paint is still wet. If you have thick paint that bled over onto your tape, removing it once it’s already dried can actually peel the paint off of your trim too.
Final Thoughts On Painting Trim
The number one thing to remember about great trim painting? Taking time to prepare the surface makes all the difference.
Trim-painting done right requires attention to detail and a commitment to preparation. It’s time consuming, and for a superior finish requires a professional-grade paint sprayer.
One scenario where trim painting can be a little easier? If the trim is already painted and you’re just looking to refresh scuffs or dirt, most homeowners in newer homes can skip filling nails and caulking. Of course, that’s assuming the previous painter did quality work – if you see blemishes after your primer or first coat, spend some time correcting them before moving on to the top coat.
To get an idea of professional painting costs, check out our other blog!
If you’re looking for trim painting or an interior painting service in Milwaukee, Culver’s Painting will paint just about anything. Call or contact us through our website for a free painting quote in Milwaukee or Madison today.